The last few months, I have been learning to make yeast breads. I've known how to make quick breads most of my cooking lifetime. Banana, zucchini, etc. Quick, easy, and didn't require much besides measurement and plop in the loaf pan. After managing to score a breadmaker off of freecycle, I thought I'd start giving it a shot. The first couple were easy if not a little boring, since the machine did all the work.
Since I am never about making my life easy, I decided that I needed to learn to do all the hard work myself at least once.
This was the result:

A nice white french bread that was turned into toast for bruschetta and then later to be dipped in soups, etc. Even if it is a bit mis-shapen...
Then I thought it might be fun to play around with other types of so-called Artesian bread.
Here is the set up from the loaves I baked this weekend. I did cheat and let the breadmaker do the kneading and rising, but any good cookbook (my personal favorite is the Better Homes and Gardens cookbook) should have illustrations and rising instructions.
Here's what I gathered to start out.

Since I had Anthony helping me, we cheated and used the breadmaker to mix and rise the dough. However, had I not cheated. I would have gently heated all the wet ingredients to appx 100 degrees and then added it to all the dry ingredients and then gone to town.


Gratutious cute picture of the boy helping.

Starting the mixing process in the breadmaker
If I wasn't assisted by the worlds most impatient helper, I would have mixed it myself, allowed it to rise lightly coated in olive oil in a bowl and covered with a cloth. Then, I would have turned it out, kneaded it for 8 minutes and pick up here....

Ball of dough
This is a braided loaf of honey wheat. I seperated it into 6 sections and rolled each section into a 15" "snake". Then, I braided them together, wetted my fingers and tucked the ends under.

I placed both loaves on a cookie sheet, covered them, and then let them rise in the warmish oven for another hour. I also placed a bowl of water in the bottom to keep things moist.

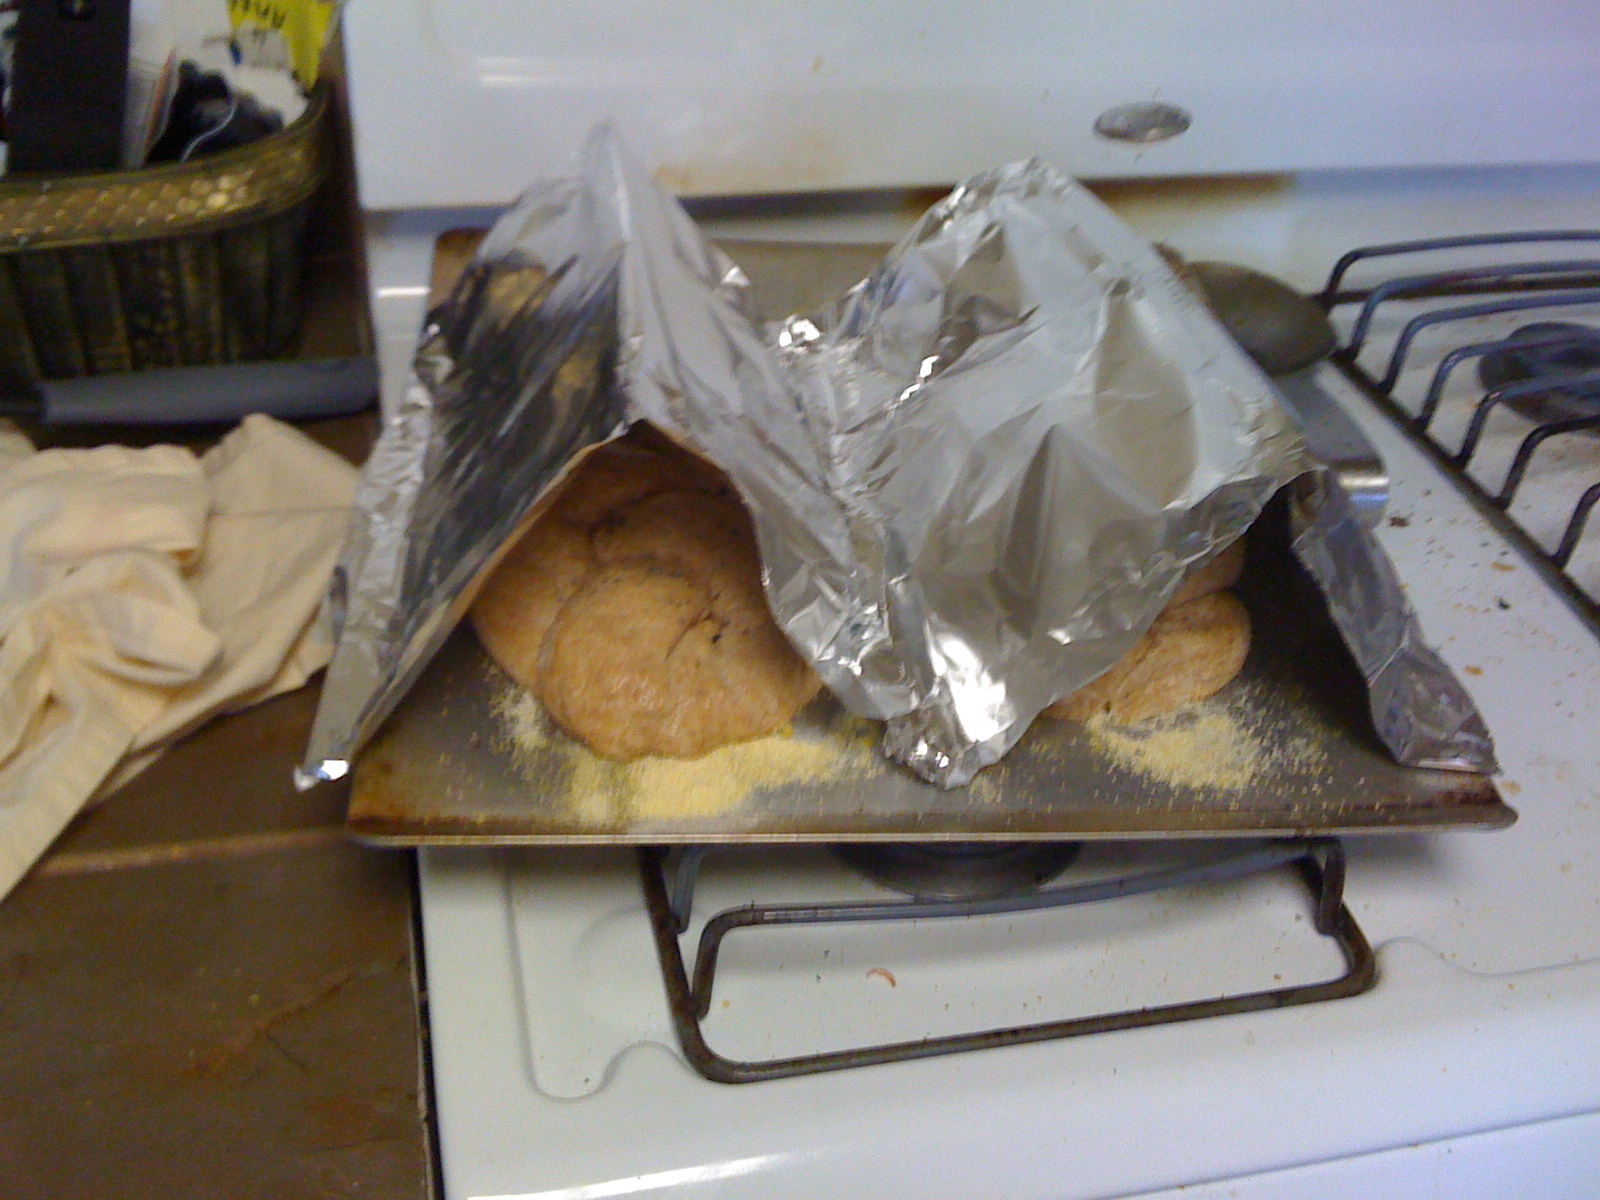
I put cornmeal on the bottom to keep things from getting sticky.
That and I like the crunch.

Hangin out in the oven. It's not on, just in case you were wondering.
After it had risen again, I tented foil over it to keep it from getting too dark, and tossed those bad boys in the oven for 25 minutes at 375 degrees.
The finished product! Pretty good looking this time. Tasted pretty good too! I love to spread a little apple butter or cream cheese on it and chow down.

I think for my next trick, I might even try sandwich bread!

No comments:
Post a Comment